
WHY SUSPENSION MATTERS
One of the most important components to fine-tune on a mountain bike is the suspension, and moreso when it comes to dialing in a kid’s bike. Since kids weigh less, accurate pressure is critical.
And they are typically less experienced, so passing on suspension tuning knowledge gives them a more enjoyable ride, and the understanding of how a mountain bike should perform.
Suspension can make a big difference for good or bad when it comes to how a mountain bike rides.
First off, the point of suspension on a bike isn’t just to look cool or feel bouncy, it’s to keep your tires on the ground. Good traction means more control when cornering and braking, and of course it helps take the edge off hard impacts as well.

STEP ONE: SETTING YOUR SAG
The best starting point is using the O-ring on your fork and rear shock to set your sag, this is how much travel you are using with your weight on the bike.
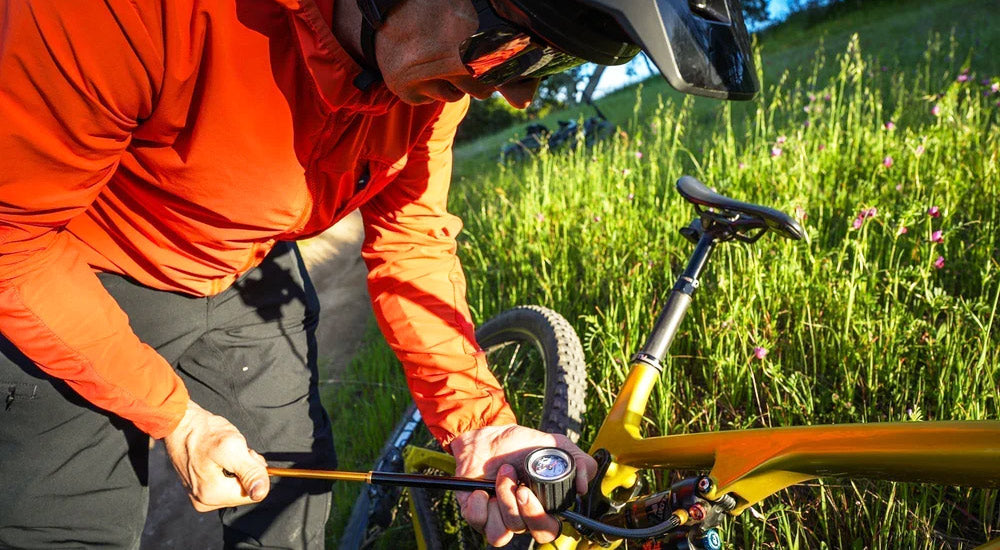
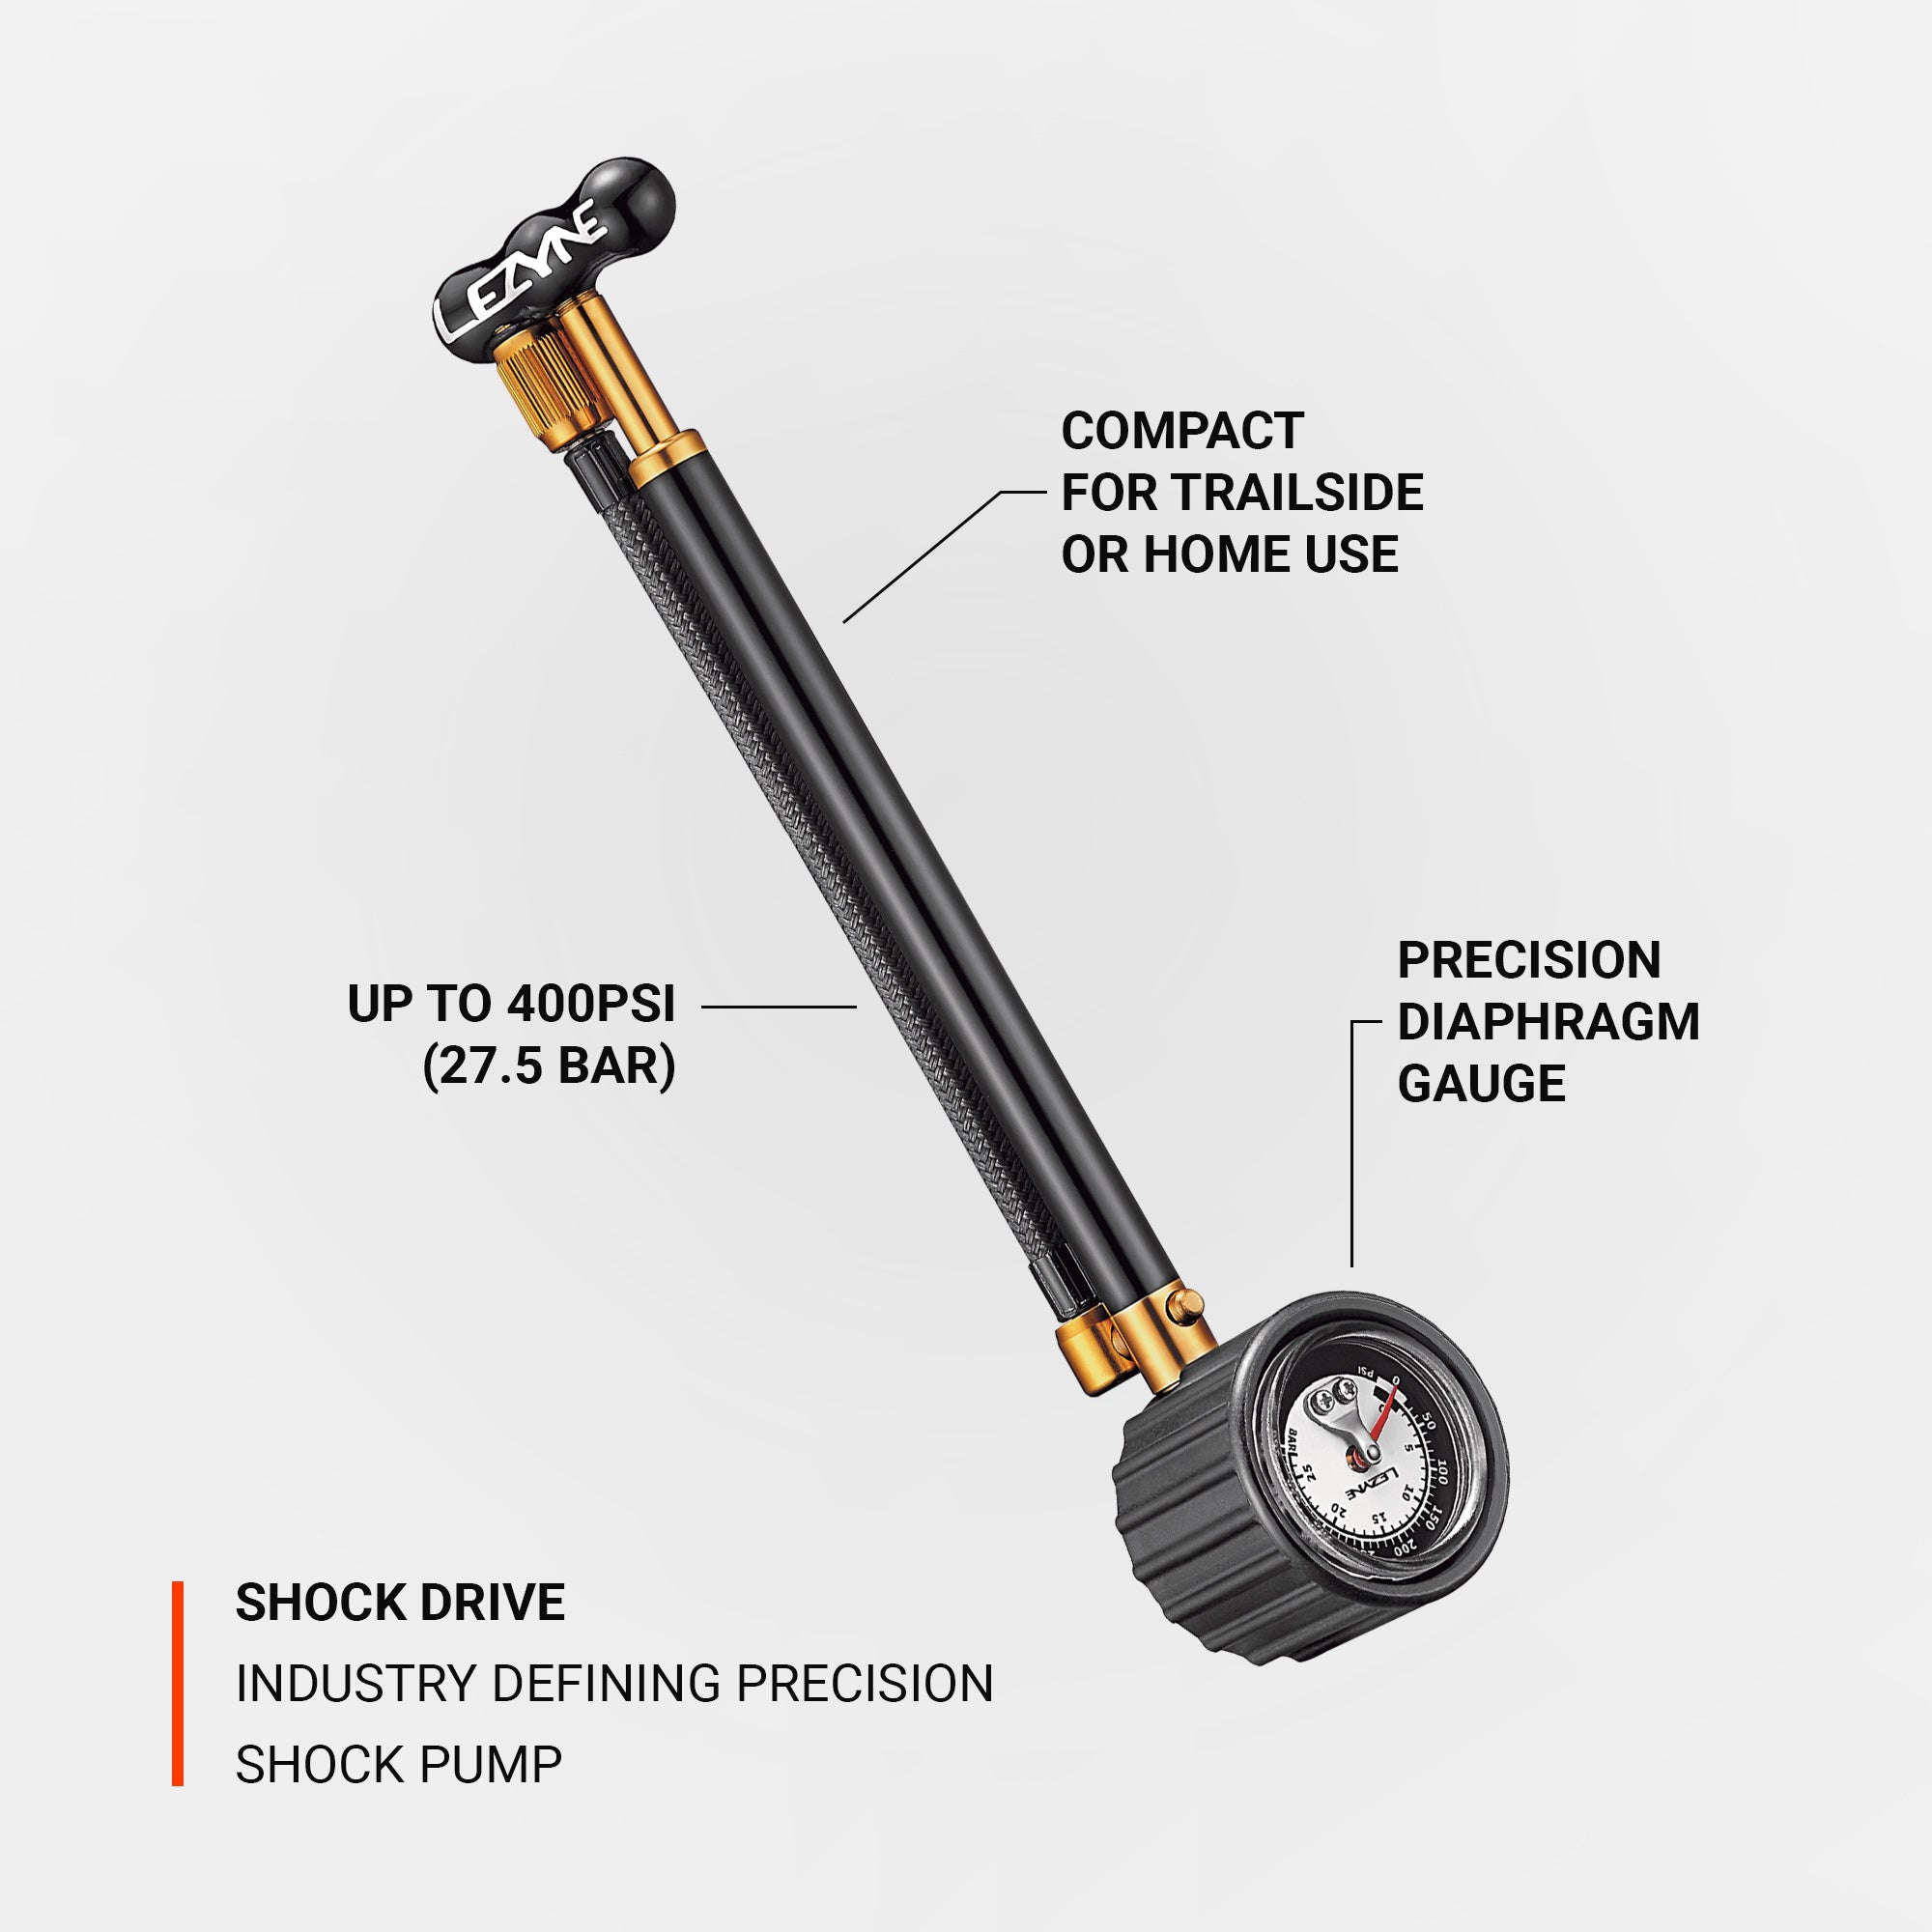
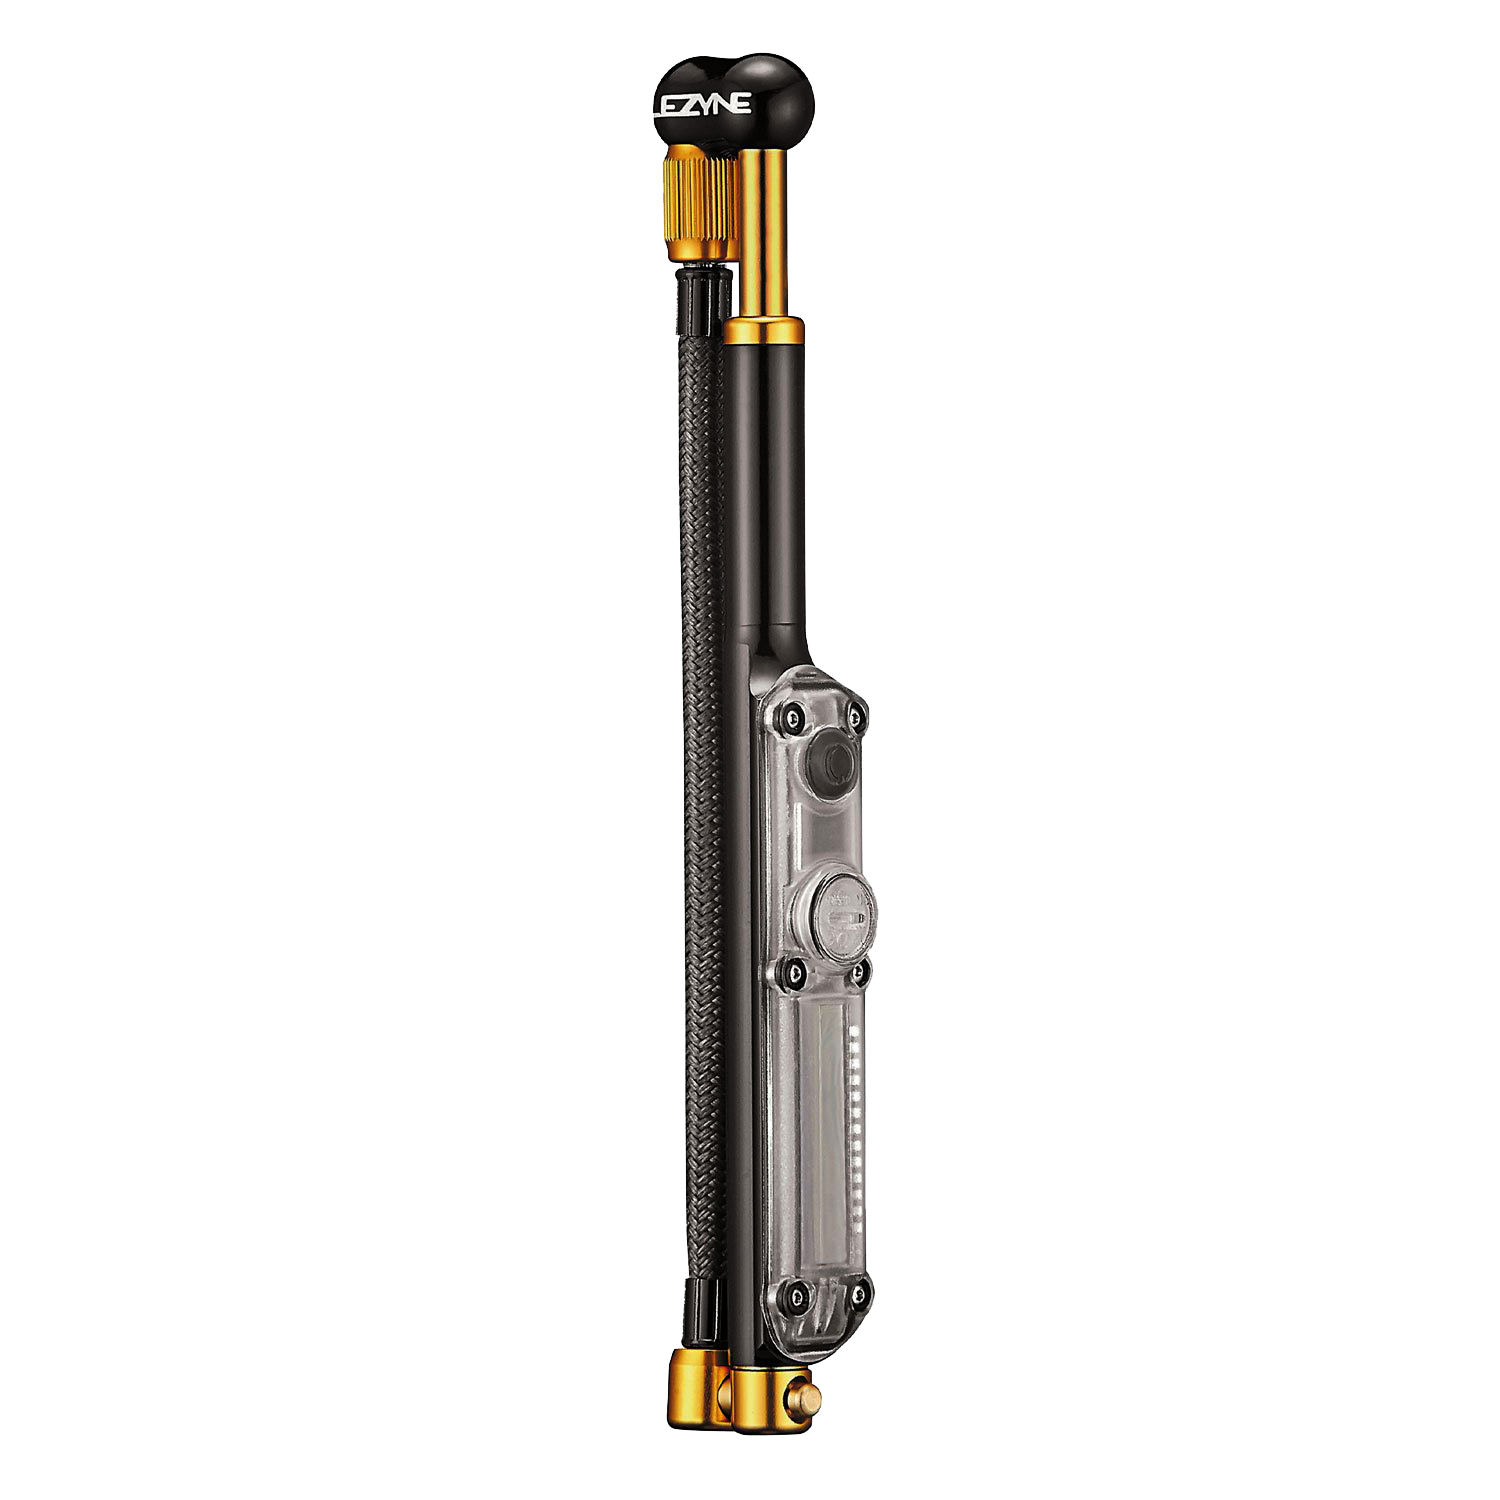
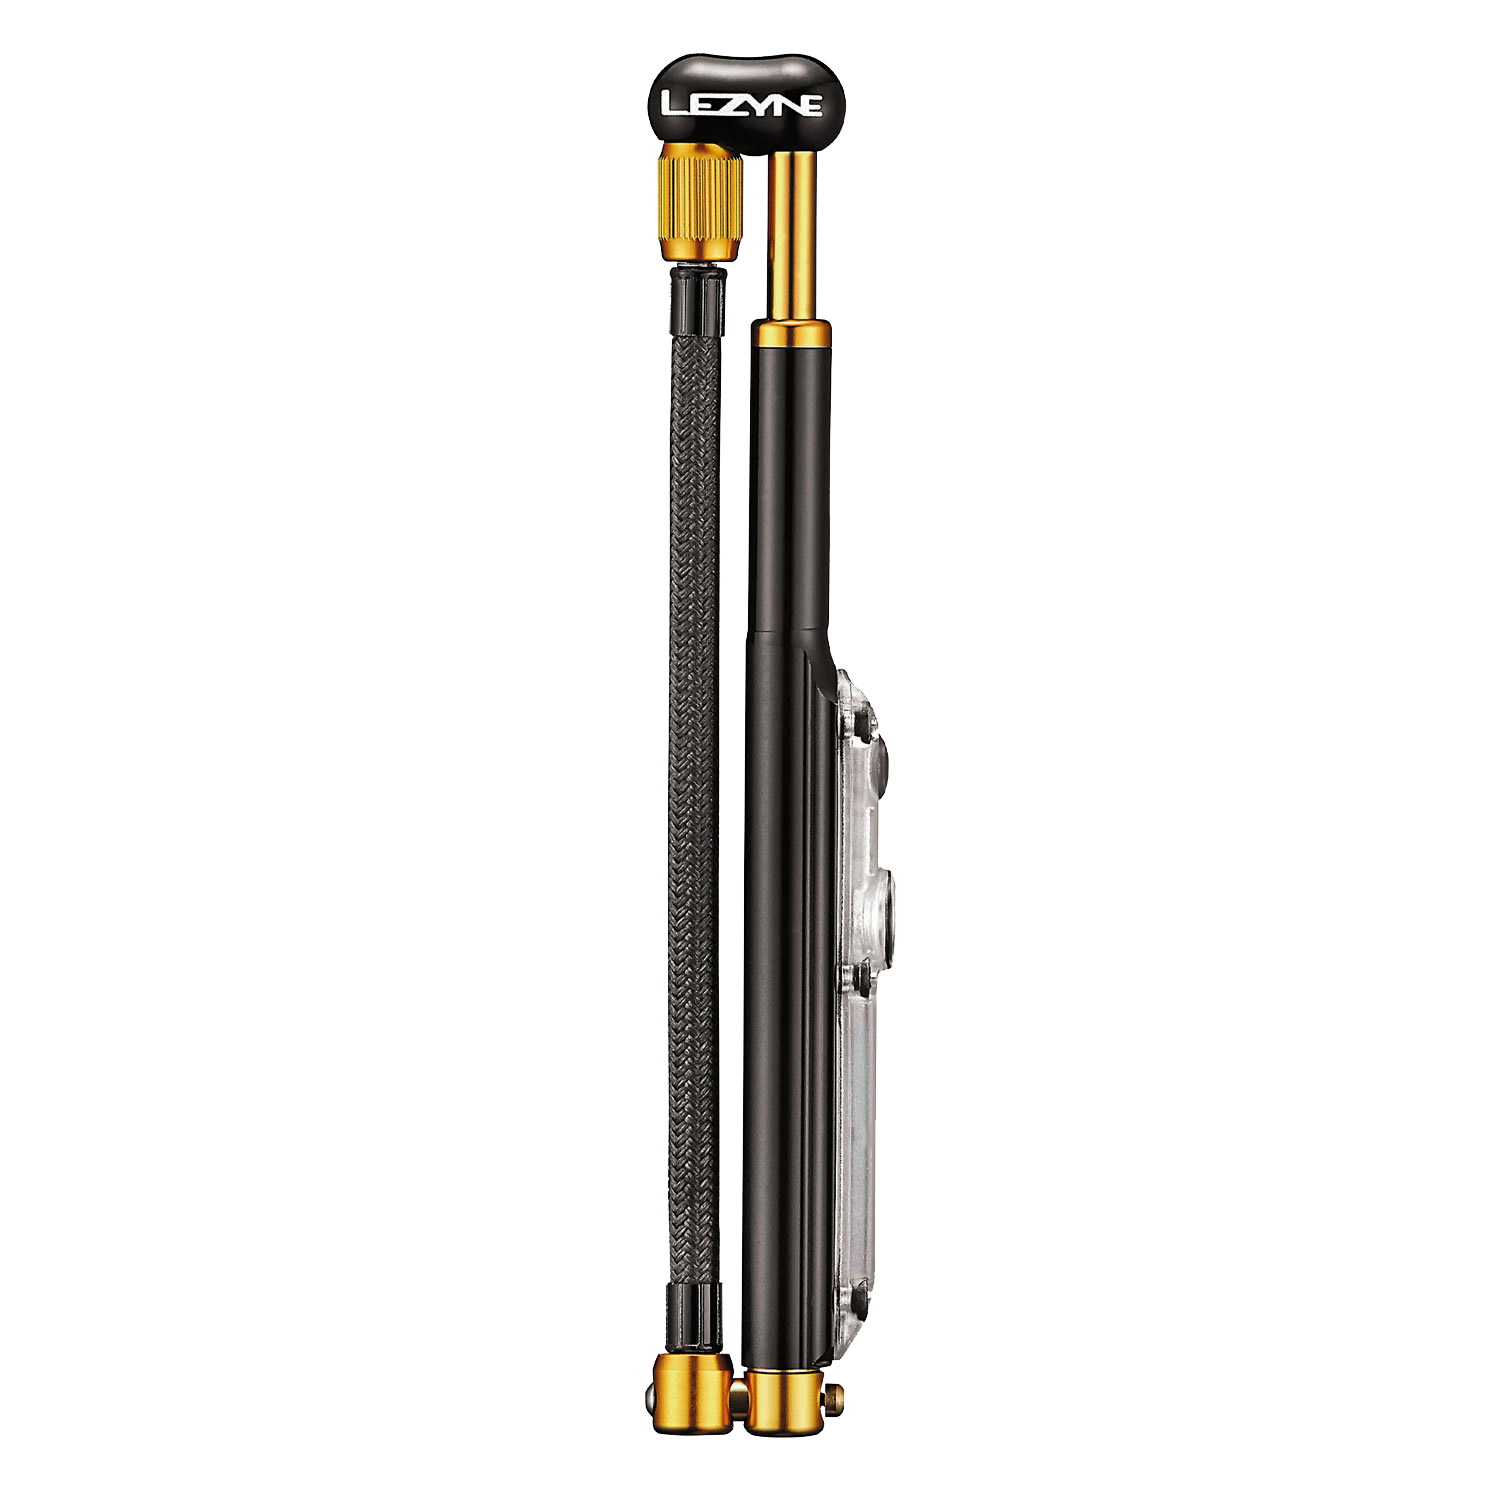
You want around 30% sag on the rear shock and 15-20% on the fork. I like to use the Lezyne Digital Shock Drive pump for this because it’s small enough to keep in my backpack on every ride but it also has a digital pressure gauge so I can be precise.
Once I get my baseline pressure set, I write it down in a notes app on my phone or on paper, this helps me remember where it’s supposed to be and makes it easier to make changes in the future.
DAMPING 101
Next up is damping, this is what controls the MTB suspension fork and shock and keeps it from being a pogo stick or feeling like a mashed potato.
You’ll want the rebound to feel quick but not so fast that you’re bouncing off rocks and impacts. The compression damping is what keeps you from blowing through your travel too fast and helps control ride height.
Note: Your suspension fork manufacturer will have a recommended settings guide that’s a great starting point for tuning.

TWEAK ONE THING AT A TIME
When you are getting your suspension set up, the best thing to do is find a short repeatable section of mountain bike trail you can do multiple laps on and then make changes to one setting at a time so it doesn’t get confusing.
For instance, after doing a baseline run or two, turn your rebound two clicks faster and do a run, then think to yourself, was that better or worse then before?
If it’s better, then do two more clicks the next run and see if that’s better, if it’s not then you know you can go back and you like it where it was!
The main point is keep it simple and adjust one thing at a time.
KIDS NEED DIFFERENT RULES
When setting up suspension for kids, they are often too light to even be on the tuning chart from the suspension company, so you’ll have to work on it a little differently.
I set the rebound to the fastest it’ll go in this situation, and then play with the air pressure until it’s got enough pressure for the damping to work and not be too slow.
This might still be too much pressure for your kid, but it’s kind of the only solution unless you re-valve the dampers, which can get expensive.

READ YOUR O-RINGS
Something I’ve taught my kids over the years is to watch their O-rings on suspension at the end of downhill runs to see where they are and how much travel they’ve used.
You shouldn’t bottom out your suspension every single run, you should only bottom it out if you hit something hard enough that you think you should have used all your travel, like a huck to flat, or a big high speed rock hit.
Most rides I still have unused travel because I wasn’t riding hard or fast enough to actually bottom out.
BE CURIOUS. BE PATIENT. DIAL IT.
So don’t be scared to mess with your suspension, just get out there and be patient, be scientific, have theories about what you’re trying to do, and then have fun learning how to dial it in!
And if you’re tweaking pressures on the trail, a compact shock pump with a digital gauge makes all the difference. As mentioned earlier, I use the Lezyne Digital Shock Drive: it’s precise, easy to carry, and perfect for dialing things in on the go. Definitely worth having in your pack.
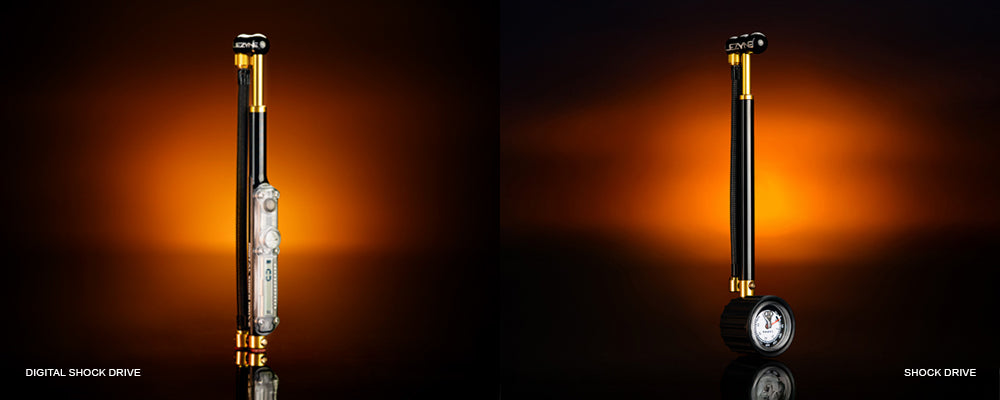
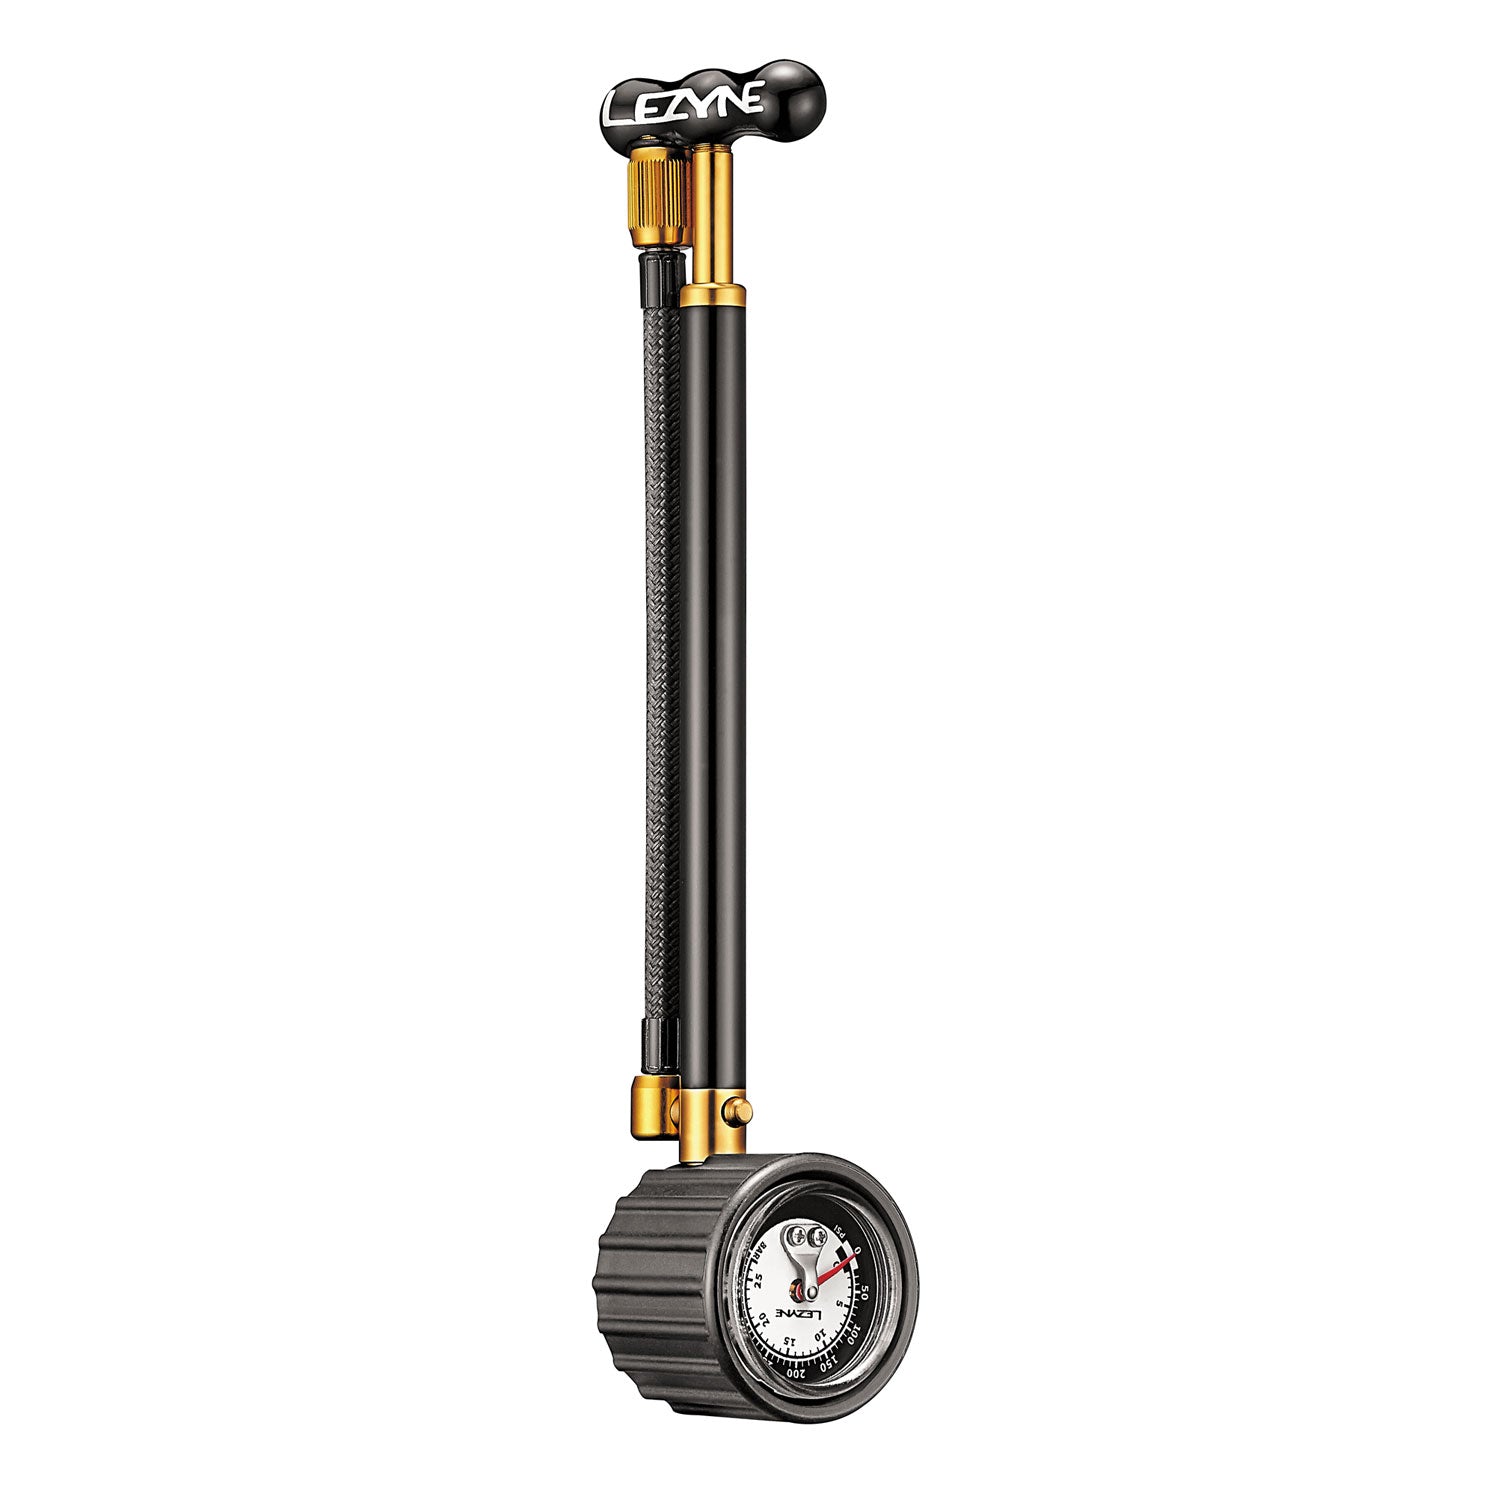
If you're looking for something more budget-friendly, the Lezyne Shock Drive is a great option too. It doesn’t have the digital gauge, but it’s super lightweight and perfect for quick adjustments on the trail.
For adults who already have a good feel for their setup, the analog dial does the job.

CHECK IT OUT IN ACTION
Want to see how Eric Porter dials in suspension with his kids out on the trail?
Watch the full video on YouTube for real-world tips, live demos, and behind-the-scenes moments with the Porter crew.
Want more behind-the-scenes, bike hacks, and family trail vibes? Check out Eric on Instagram for daily MTB inspo and real-world riding tips @portermtb.
